Studio Tour
Welcome to my art studio!
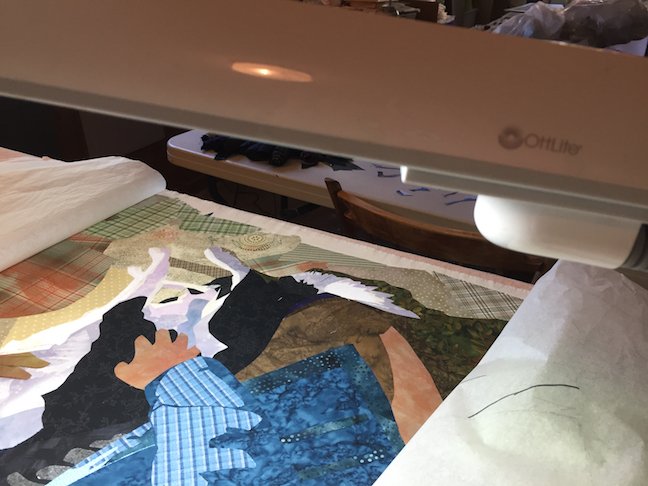
The studio is a mother-in-law apartment from the 1970's. It has its own entrance but is part of the house, and there is a sound buffer door between our TV room and the studio, so I can work undisturbed. There is no longer a stove or refrigerator, but I do have a sink, a very nice wide counter, and other horizontal surfaces, plenty of room for a ping pong table, and multiple dressers providing 21 drawers for storing creative supplies. Dismal carpeting has been removed, and the floor is concrete. The lighting is original and pretty poor, so I use an OttLite for supplemental lighting. I share one end of the studio with my husband, who uses it for his sprouting towers and soil sprouts. He uses the sink a lot, and has taken over some of the cupboard storage. There is a lot of cupboard space so it hasn't been a problem. This is the view from one end of the room. Plenty messy.

Some of my fabric stash is commercial fabric that I have purchased. I usually get only 1/3 of a yard. I am given fabrics from friends, and I cut up old shirts from the second hand store. I also like to paint linen fabrics. Most of these fabrics are rolled into bundles, which are stored in dresser drawers arranged by color.


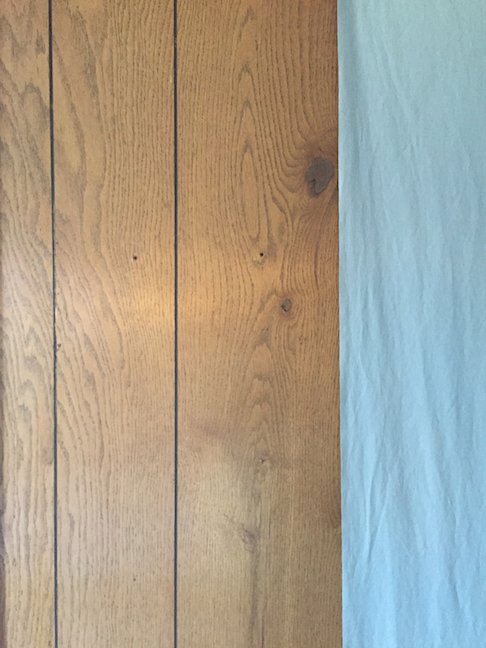
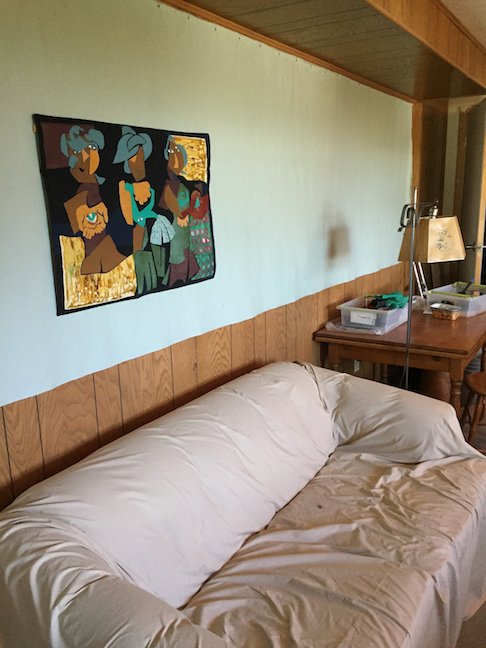
The room has brown paneling that I did not like for display of artwork. So I have covered it with fabric, secured with small nails (every six inches) along the top of the wall. The nails are also used to hang artwork, which can easily be moved around. (I would like to someday change the wall fabric to something closer to white.)

The wide kitchen counter is a perfect height for ironing. This photo shows a work in progress, a figurative piece that uses fusible web to 'glue' pattern fabrics to a muslin backing, using a hot iron. There is a tissue paper image guide that shows me the placement of all the parts, and the bean bags weigh this down, so that it does not shift during the many times it is lifted up and down. As you can see, the size of the counter has limitations. It's about 38 X 58 inches. I seldom work larger than this, unless it is an abstract piece that I sew by hand, laying it on the ping pong table.


The windows are south facing, which is both a good and bad thing. It is nice to have the warmth of the sun in the winter, but it can also be blinding! When I am sewing at this table, I sometimes block a portion of the window.


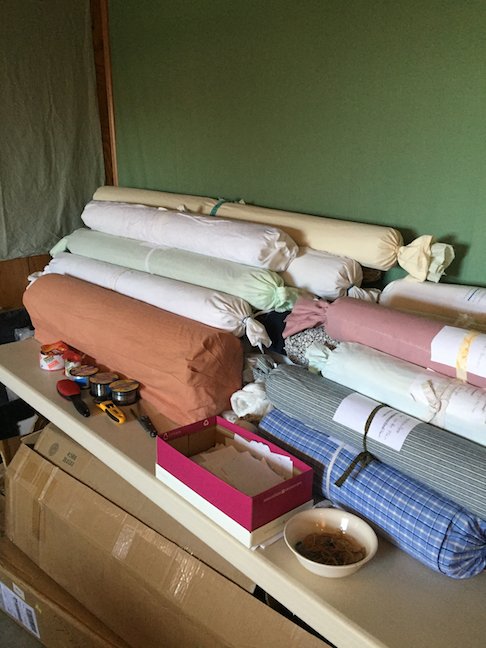
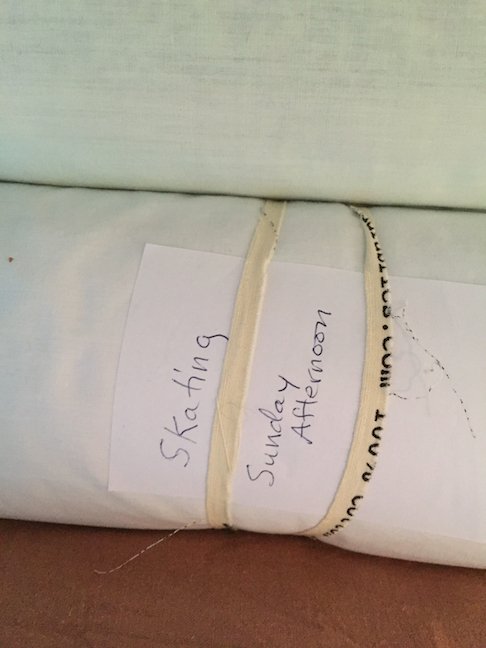
To store my art pieces, I wrap two or more quilts around a swim noodle (front of quilts are on the outside) and cover this with cloth and close the ends with a rubber band. Each long package resembles a big tootsie roll. It is very important to label each roll. Don't forget this step! As quilts come and go from shows, they will change their bed fellows, so the labels change a lot with titles added and subtracted over time.

I have my large cutting mat, which I purchased for my 50th birthday in 2000, and also smaller ones. My thread is stored as shown below. Hanging sticks are stored on a shelf and reused. Each stick has multiple quilt names on it, indicating quilts it might be used with. Stick choice depends in part on the weight of the quilt. I have a small spot on the wall for notes. The paint swatches posted there right now include the wall color of the Wyoming assisted living center. I am currently making artwork for this space, using a Wyoming color palette.



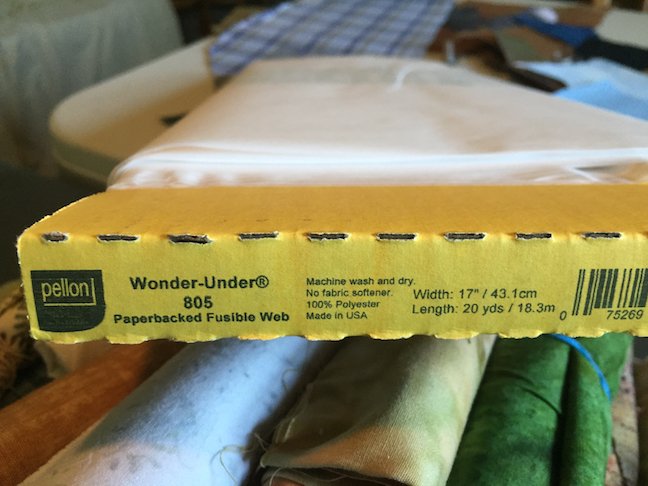
The last photos show the fusible web and fabric paint that I use, as well as my old school music corner. I listen to CD's. Good grief.


As you can see, my studio is not fancy, and not very picked up right now! But it works, and I feel very blessed to have it.
I have a cooking studio too. It is the upstairs kitchen. My recipe this month is Rhubarb Sauce. The time needed to make this delicious seasonal treat, including harvesting Rhubarb from the garden, washing, cutting and cooking, is just 20 minutes! Wash stems and dice into lengths about 1/2 inch each. Put 8 cups of diced Rhubarb and 1 cup of water in a pot and bring to a boil. Simmer for 7 minutes. Stir in 1 cup of sugar. That's really all there is to it! Yummy!

